What Is Render Resolution? How Resolution Affects 3D Image Quality
Explore what render resolution is, how it affects 3D image quality, and how to choose the right resolution for different platforms, formats, and applications.
.webp)
You’ve built a stunning 3D model, hit render, and the result looks blurry, pixelated, or slow to produce. Often, the culprit isn’t a model but your settings. If you're wondering what is render resolution, it determines how much detail your final image holds, how large the file becomes, and how long rendering takes. It’s not the same as screen resolution or image dimensions, though the three are easy to confuse.
This guide breaks down exactly what resolution means and how to get it right.
What Is Rendering Resolution?
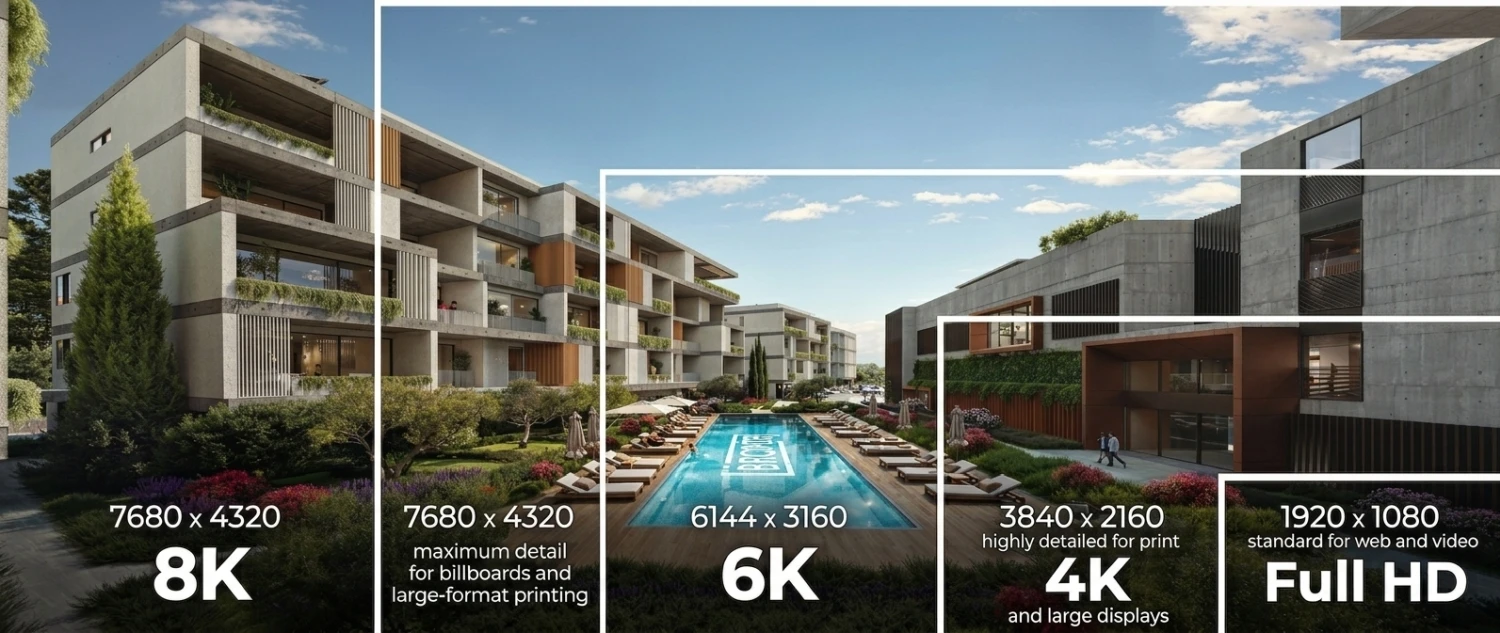
So what does render resolution do? It’s the number of pixels your 3D rendering software calculates and displays in the final image. It includes width by height, measured in pixels. It determines how much visual information the image contains, from textures to lighting gradients.
Common resolutions include:
- 1920 x 1080 (Full HD) – standard for web and video;
- 3840 x 2160 (4K) – highly detailed for print and large displays;
- 7680 x 4320 (8K) – maximum detail for billboards and large-format printing.
For 3D visualization for eCommerce, the appropriate resolution depends on how the product will be presented, whether as a standard product image, a zoomable view, or a large-format visual. More pixels mean more visible detail – sharper edges, cleaner gradients, and textures. A low-resolution render often looks soft or blocky when viewed at full size.
Understanding what is render resolution matters, but it's easy to confuse it with a related concept of DPI/PPI. Resolution defines the total pixel count. DPI (dots per inch) or PPI (pixels per inch) determines how those pixels are distributed across a physical print size. It’s relevant only when preparing an image for physical output, not for screens.
How Does 3D Rendering Resolution Affect Image Quality?
Resolution doesn’t just control image size. It shapes how convincing a render looks. From fine detail to lighting accuracy, here’s what changes as pixel count increases.
Detail and Sharpness
Higher resolution reveals fine geometry, including precise edges, intricate textures, and material transitions that lower resolutions can’t capture. For example, a brick wall renders individual bricks and mortar lines instead of a flat, generalized pattern.
Image Clarity
Low-resolution renders may appear blurry, soft, or visibly pixelated. It’s especially noticeable at larger display sizes and becomes critical when an image needs to be enlarged or cropped.
Textures and Materials
Resolution and texture maps work together. A high rendering resolution applied to a low-quality texture map won’t produce better detail but display the existing flaws more clearly. Texture quality must match resolution for results to improve.
Lighting and Shadows
Higher resolution allows lighting, reflections, and shadow edges to render with more precision. Soft shadow gradients, subtle reflections, and ambient detail all appear more refined and realistic at higher pixel counts.
Common 3D Render Resolutions
There’s no universal best resolution for rendering. For 3D rendering for marketing agencies, the right choice depends on where the image will end up. Higher pixel counts aren't automatically better. They add rendering time and file size without benefit if the extra detail will never be seen. The goal is to match resolution to the platform and viewing context, not to default to the maximum available setting.
A. HD (720p)
- Resolution: 1280 × 1080
- Use Case: Best suited for rough drafts, internal previews, and quick client check-ins where detail isn’t critical. Fast to render, easy to review, and suitable for early-stage design iterations before committing to a final pass.
B. Full HD (1080p)
- Resolution: 1920 × 1080
- Use Case: The standard for use, social media, and digital presentations. This resolution balances sharpness and file size, making it suitable for product pages, portfolio sites, and email campaigns.
C. QHD (1440p)
- Resolution: 2560 × 1440
- Use Case: A strong middle ground for high-quality digital content – portfolio showcases, 360 rendering for interactive experiences, larger website banners, or detailed client reviews where more clarity is needed.
D. 4K Ultra HD (UHD)
- Resolution: 3840 × 2160
- Use Case: The benchmark for professional 3D rendering. If you’re presenting to a high-profile client or creating marketing materials for luxury real estate development, 4K is essential. It allows the viewer to see the fine grain of wood, the weaves of fabric, and the subtle reflection in glass.
E. 5K and 8K
- Resolution: 5120 × 2880 / 7680 × 4320
- Use Case: This is the best resolution for 3D rendering for large-format printing, billboards, and premium applications where the image will be viewed up close or at significant magnification.

What 3D Render Resolution Should You Use?
Different platforms and formats call for different resolution settings – from a social media post to a large-format print campaign. Here’s a practical breakdown of what works best for some common use cases.
For Website and eCommerce
1920 × 1080 comfortably covers most product images. For zoom functionality, render slightly higher (around 2560 × 1440) so the zoomed view still holds sharp detail without pixelation.
For Social Media
Requirements vary by platform and post format, as feed posts, stories, and carousels use different dimensions. Pixel count matters, but aspect ratio matters just as much. A perfectly sharp image cropped incorrectly still looks unprofessional.
For Presentations and Sales Materials
1920 × 1080 to 2560 × 1440 works well for pitch decks and digital brochures viewed on screens. Higher render resolutions become worthwhile only when the deck will be projected on a large screen or reviewed up close.
For Print
Print resolution depends on physical size and DPI. A billboard viewed from a distance needs far fewer pixels per inch than a brochure held in hand. So it’s important to calculate final print dimensions and viewing distance.
For Architectural Visualization
Interior and exterior renders for brochures, property listings, and billboards require 4K or higher. Architectural detail like wood grain and glass reflections needs that pixel density to read at scale.
For Product Visualization
eCommerce images work well at Full HD, while catalogs and advertising campaigns often benefit from 4K, especially for packaging and close-up detail shots where texture accuracy matters most.
For 360° and Interactive Experiences
Panoramas and interactive viewers need enough resolution to stay sharp as users zoom and rotate, but excessive resolution slows load times. Balancing image quality against performance is critical here.
Does Higher Render Resolutions Always Mean Better Quality?
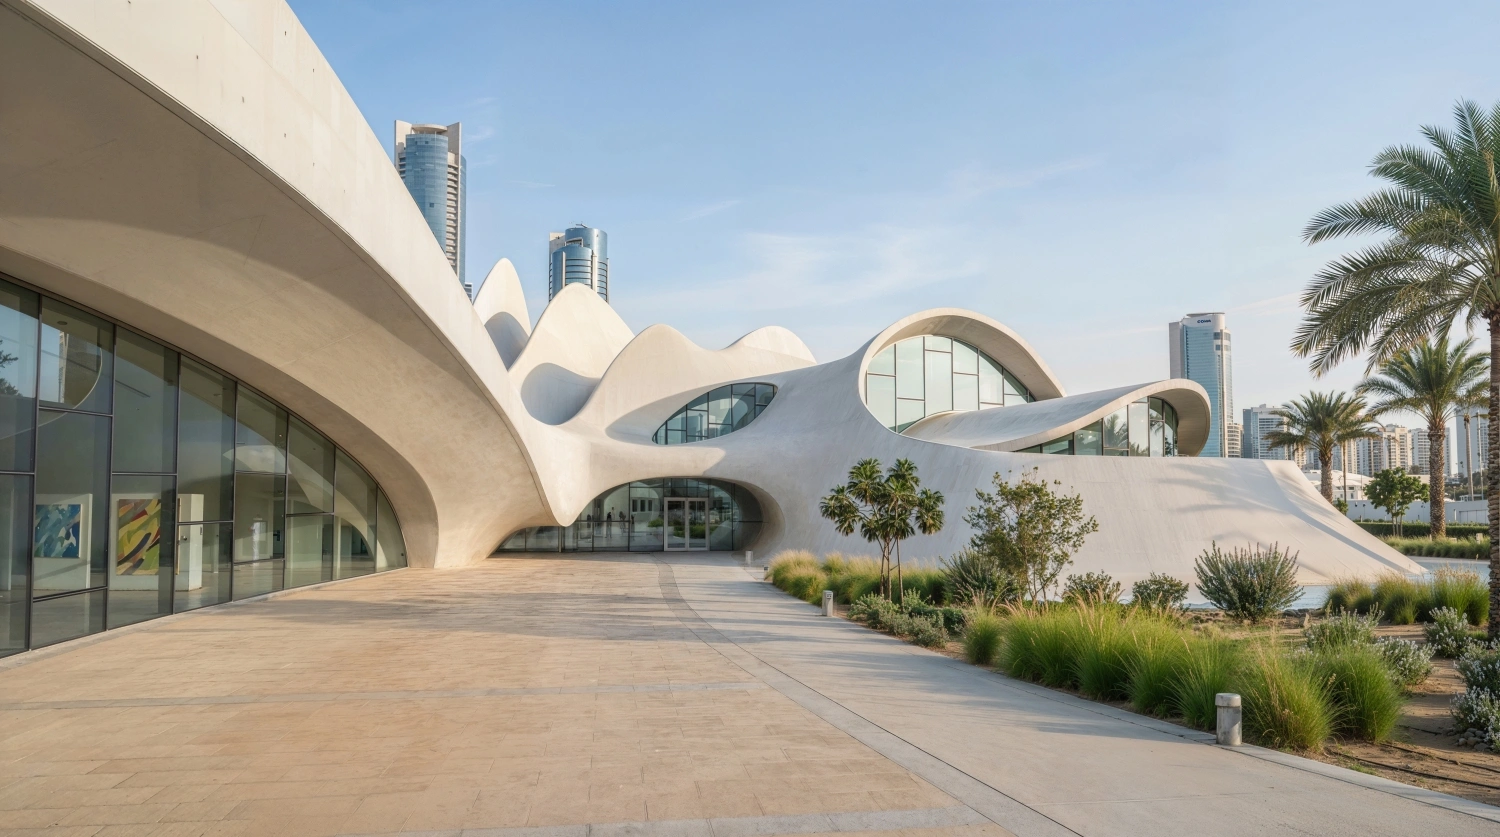
3D render resolution is only one factor in a much larger equation. Pushing pixel count higher won’t fix problems that appear elsewhere in the production pipeline.
Quality also depends on:
- 3D modeling. Poor geometry looks poor at any resolution; more pixels show the flaws more clearly.
- Materials and textures. Low-quality texture maps don’t improve when rendered large. They display their limitations at greater detail.
- Lighting. Flat, unconvincing lighting undermines realism regardless of how sharp the final image is.
- Camera composition. A poorly framed shot is still poorly framed, no matter how many pixels it contains.
- Rendering engine. Different engines handle reflections, shadows, and global illumination differently, independent of resolution settings.
- Post-production. Color grading, compositing, and touch-ups often do more for perceived quality than raw pixel count alone.
There's also a point of diminishing returns. The relationship between render resolution vs display resolution shows why higher isn't always better. Rendering an 8K image for a website that displays it at 1920 × 1080 wastes significant render time and storage without any visible quality benefit. Matching resolution to the final medium, rather than defaulting to maximum resolution, is almost always the smarter approach.
How Render Resolution Affects the 3D Rendering Workflow?
Rendering resolution isn’t a setting you adjust at the last minute. It shapes decisions during the entire production process, from initial modeling to final delivery.
Scene Preparation
High-resolution outputs often demand more detailed models, textures, and scene elements. Determining the final resolution early avoids the frustration of rebuilding or optimizing assets partway through production.
Modeling and Level of Detail
How much geometric detail a model needs depends on how closely the final render will be viewed. Photorealistic architectural renderings, for example, may require significantly more detail when they are intended for large-format presentations or close-up viewing.
Materials and Textures
Texture resolution needs to match the final render size. This is particularly important in medical visualization, where fine textures and surface details can be essential to communicating complex structures. Pairing a high-resolution output with low-resolution textures produces blurry, inconsistent results.
Lighting and Rendering Settings
Higher render resolutions mean significantly more pixels to calculate. Render settings (samples, reflections, shadows, global illumination) often need adjustment to keep quality consistent without excessive render times at the target output size.
Test Renders and Revisions
Lower-resolution previews are ideal for reviewing composition, camera angles, materials, and lighting before committing to a final pass. This approach saves substantial rendering time during the revision process, especially for product animation, where multiple iterations may be needed before final delivery.
Rendering Time and Resources
Increasing resolution dramatically increases the number of pixels being calculated. Complex scenes combined with high output resolution can require significantly more processing time, memory, and computing resources.
Post-Production and Final Delivery
Higher-resolution renders offer more flexibility for cropping, retouching, resizing, and adapting a single image into multiple marketing formats. Final output should always match the resolution appropriate for its intended channel.
How to Choose the Right Rendering Resolution
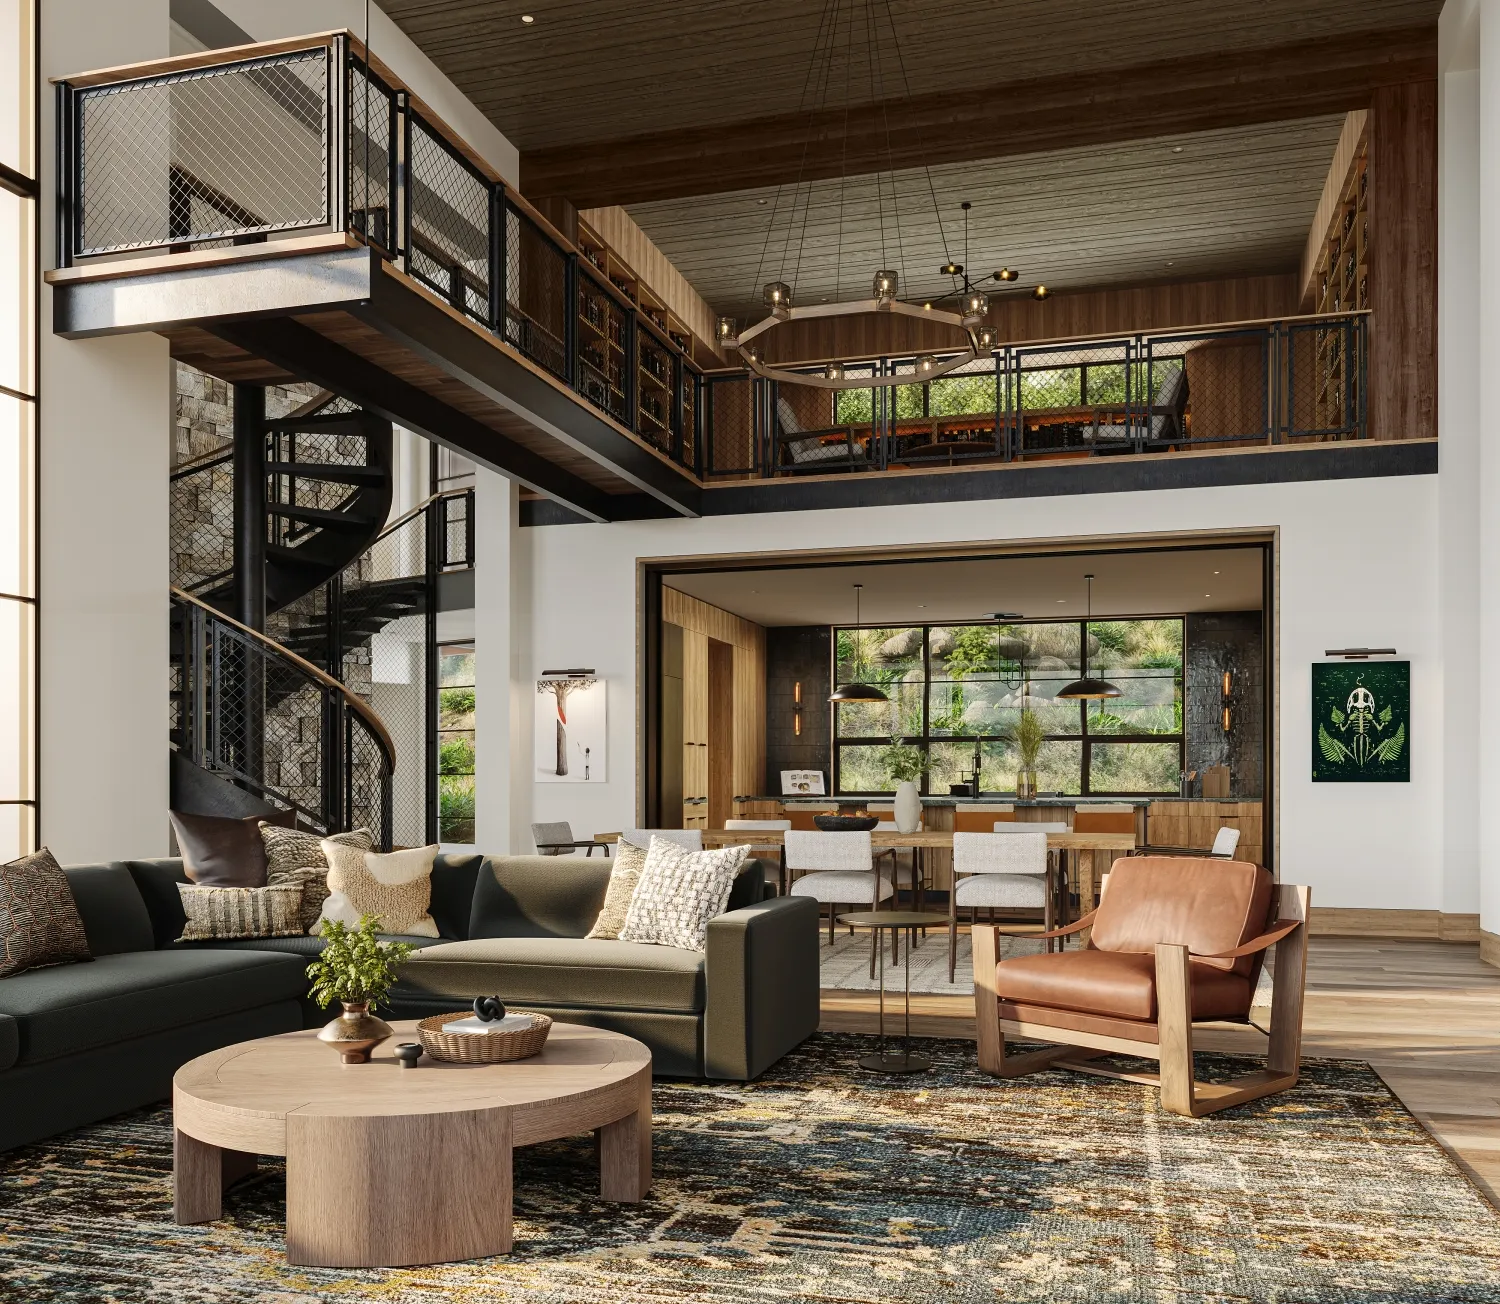
Choosing the best resolution for 3D rendering doesn’t have to be complicated. Following a clear process removes the guesswork and prevents wasted rendering time.
- Identify the final output. Website, print, social media, or presentation determines the baseline requirement before anything else.
- Determine the required image dimensions. Match resolution to where the image will be displayed.
- Choose the aspect ratio. Pixel count means little if the framing doesn’t fit the platform or format.
- Consider viewing distance. A billboard viewed from across a street needs less pixel density than a brochure held in hand.
- Check print requirements if applicable. Confirm DPI expectations before finalizing pixel dimensions.
- Consider cropping and future reuse. Rendering slightly higher than needed preserves flexibility for future formats.
- Select the appropriate render quality. Balance resolution with samples, lighting complexity, and available time.
- Create a test render before the final output. Catch composition or lighting issues at low resolution, before committing to a full render.
Following these steps consistently turns resolution selection from guesswork into a repeatable part of the workflow. The one that saves rendering time and prevents surprises when the final image reaches its destination.
How PIXREADY Handles 3D Render Resolution
Choosing the right render resolution is a decision we make with every project. At PIXREADY, resolution is selected according to each image's final purpose — whether that's a product page, a billboard, or an investor presentation.
Before production begins, our team considers image dimensions, aspect ratio, viewing conditions, and delivery requirements together. A render destined for a website carousel needs a different approach than one headed for a large-format trade show banner, even if both feature the same 3D model.
Test renders play an important role in our workflow. Lower-resolution previews let clients review composition, materials, lighting, and overall visual direction before we commit to a full-resolution final pass. This catches issues early, while they're still easy and inexpensive to fix, rather than after significant rendering time has already been invested.
When projects call for it, we prepare high-resolution outputs suited for print, advertising campaigns, catalogs, or large-format applications. Our production pipeline scales to meet these requirements without compromising the detail, material accuracy, or lighting quality.
The PIXREADY approach balances three factors: image quality, rendering time, and practical delivery requirements. Pushing render resolutions higher than a project needs wastes time and resources; rendering too low risks images that don't hold up under real-world use. We aim for the resolution that serves the final application precisely.
Case Study: ChappyWrap — Blanket Collection Launch
ChappyWrap needed to launch a new outdoor blanket collection and differentiate it from their existing product line. PIXREADY selected the best resolution for rendering and output format based on each channel's requirements: high-resolution stills for the website and product pages, optimized formats for social media campaigns, and full animation sequences for promotional video.
This channel-specific approach ensured every asset displayed sharp material detail, from weave texture to fabric weight, without unnecessary file size or rendering time where it wasn't needed.
"PIXREADY created renderings for our product launch that clearly communicated key product attributes and differentiated the new collection from our existing line. The team was fast, responsive, and highly professional throughout the process." — Megan Savage, Creative Director, ChappyWrap

Conclusion
What is rendering resolution, and why does it matter? It shapes every aspect of your final image — detail, file size, and rendering time. But resolution alone won't fix weak modeling, poor lighting, or low-quality textures. The right approach matches resolution to the final medium, whether that's a website, a billboard, or a glossy catalog. Get this balance right, and every render performs exactly as intended.
Need help choosing the right resolution for your next project? Get in touch with PIXREADY and let's talk through your requirements.
Get 3d expert on your side
More than a 3D rendering vendor, PIXREADY acts as a strategic CGI partner helping brands
сreate scalable visual content for marketing, sales, and product launches. Let's explore your
project and discuss how CGI can support your business goals!
.png)
Founded by a group of technology, architecture, and design professionals in 2018, PIXREADY is one of the challengers empowering the 3D visualization industry and making its products and services more affordable.We are determined to assist businesses around the world to create photorealistic images of their products and ideas and enrich the experience of their clients. We focus on the details, with the highest precision in every pixel.
FAQ
What is render resolution in 3D?
Resolution is the pixel dimensions of a rendered image — width by height — determining how much visual detail the final output contains.
What is the best resolution for a 3D render?
The best resolution for 3D rendering depends on the final use. Full HD suits web and social media, while 4K or higher suits print and marketing materials.
Is 4K good enough for 3D rendering?
Yes. 4K is the professional standard for most 3D rendering work, offering enough detail for close inspection, marketing, and high-profile client presentations.
What resolution should product renders be?
Product renders typically work well at 1920 x 1080 for web use, with 4K recommended for catalogs, packaging, and detailed close-up shots.
What render resolution is best for architectural renders?
Architectural exteriors and interiors used in marketing or brochures typically require 4K or higher to capture fine detail like materials and reflections.
Does higher render resolution improve quality?
Not always. Resolution improves detail only when paired with quality modeling, textures, lighting, and composition — it cannot fix underlying scene issues.
Does render resolution affect rendering time?
Yes. Higher rendering resolution significantly increases the number of pixels calculated, which directly increases rendering time and computing resources required.
Can a low-resolution render be upscaled?
Technically, yes, using upscaling software, but results vary. Rendering at the correct resolution from the start always produces sharper, more reliable results.

-2.webp)